Thanks to the folks at Jo-Ann for the free pattern and instructions. You can find them here.
The pattern prints on one sheet in PDF format, and the instructions indicate that you must enlarge the wing/body portion of the pattern 800%, and the circle/antenna portion of the pattern 200%. How do you do that without paying for an enlargement at the print shop? I used the PDF reading program called Foxit. It's free, and you can download it here. When you're ready to print, simply go to File --> Print. Under the Print Handling section, select "Tile Large Pages" and indicate the Page Zoom percentage you'd like to use. In this case, I used 800%.

As you can see, I opted for a page overlap of 0.005 inches and added cut lines and labels. This helped me cut out and match my sheets of paper a little easier. When you're printing an image this large, it can be difficult to piece it together otherwise.
BEWARE: I printed the entirety of page 2 at 800% which resulted in a whopping 72 pages!

Check out this fat stack of paper. I ultimately didn't mind because I happen to have lots of extra copy paper laying around, and the image is mostly blank space, so it didn't use a lot of toner. I ended up reusing all of the unused pages.
Now for piecing the pattern together: I quickly realized that the entire enlarged printout would take up more than the available space on my floor.

Here's where choosing the "label" option came in handy: this option prints a small label that indicates which tile the current sheet of paper represents. For example, tile 1,1 is the first tile in the first row, and 2,1 is the second tile in the first row, etc. Once I figured out the pattern, I simply pieced it together at my work table without the necessity of laying out the entire design. I cut off the overlapping portions and taped the sheets together to form the portion of the pattern I needed:

I then re-printed the design at only 200% for the remainder of the pattern, which required much fewer sheets:

My mother helped pick out some coordinating fabrics, and off we go:
I cut out the body pattern, reinforcing with additional tape where it was needed:

Wow, this picture makes my carpet look dirty! I promise, it's not. Just in case, I vacuumed before the remaining shots: :)

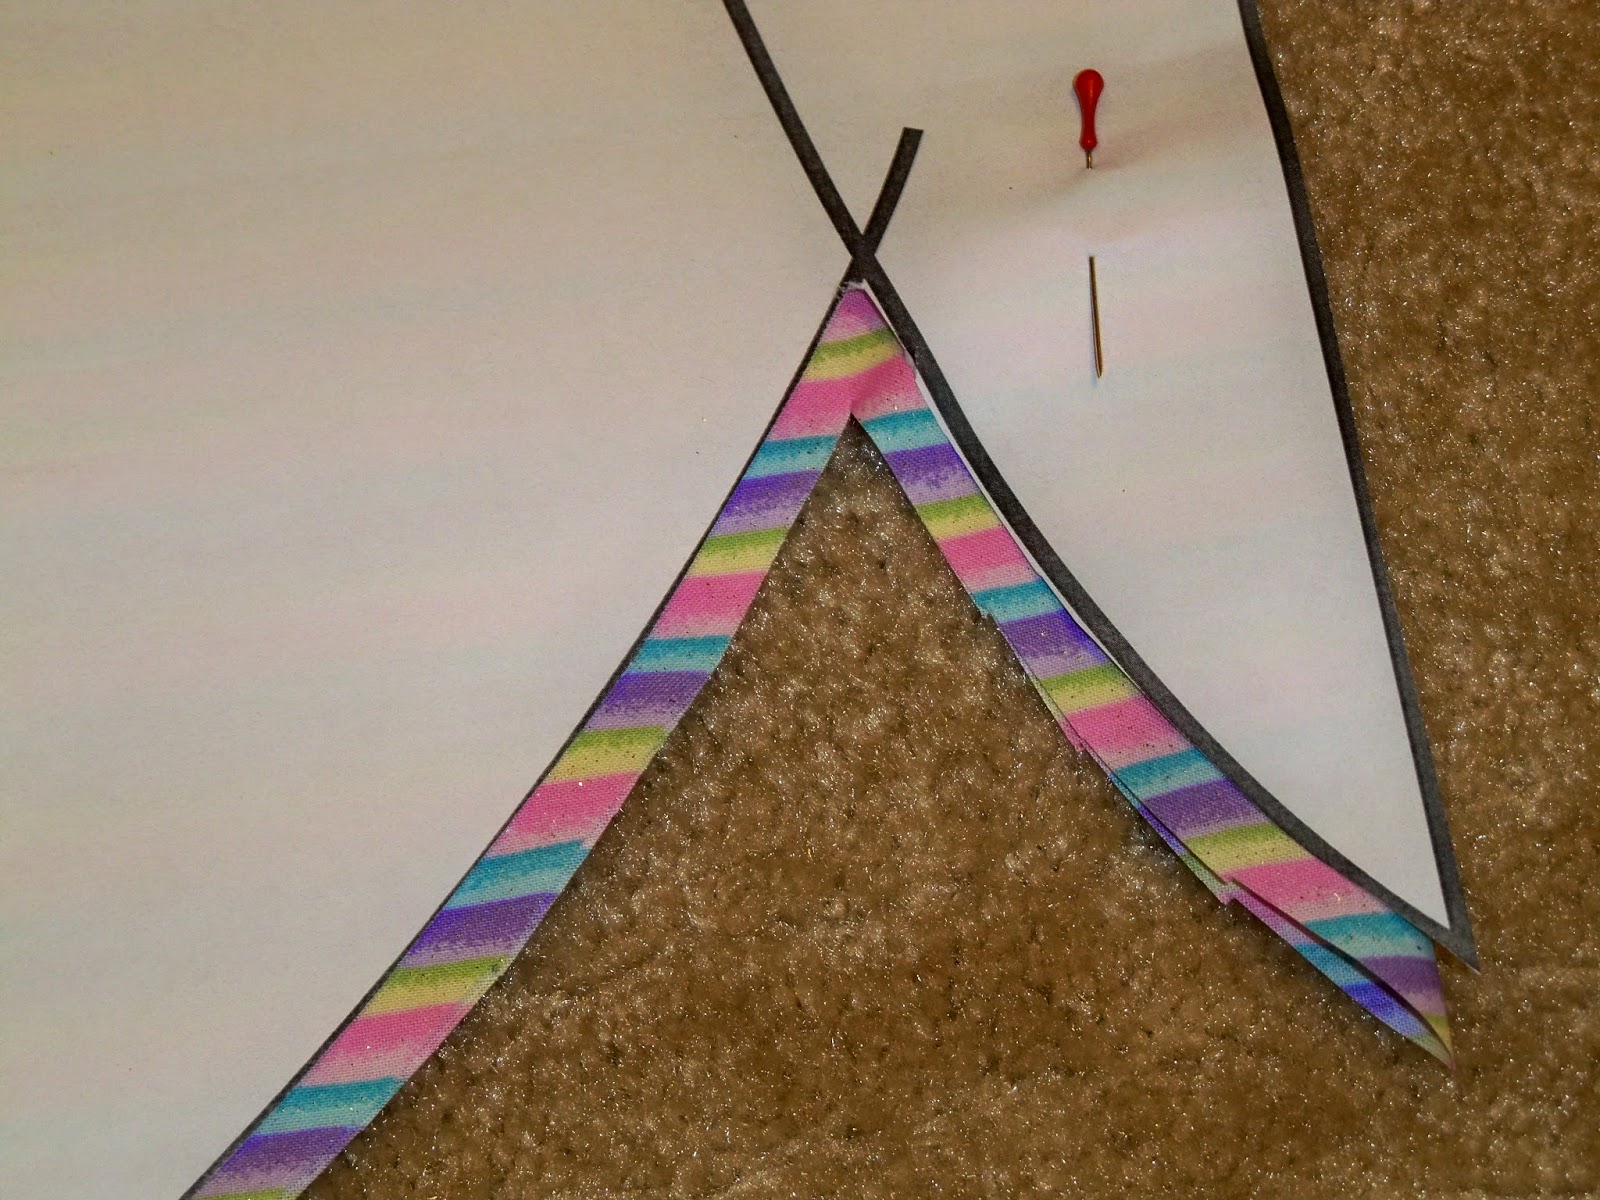
We found this super cute and super girly striped fabric (with glitter!) that I'm using for the backing. Lining up the backing fabric on a fold, I pinned the pattern to the fabric and cut out the body, leaving a 1/4" seam allowance all around:
That's really the hardest part to remember: always include the seam allowance! Now, after all of that work putting the pattern together, it's time to cut it apart! I love the glitter stripe so much I decided to use it for the butterfly body, too. Once the body was cut out (I almost forgot my seam allowance again), I auditioned the other prints I purchased for this project and decided where to place them:

Once again, folding the fabric in half, I pinned and cut out my pattern pieces.

The curves on this project are a little tricky to sew, so I used tons of pins to hold the pieces together as I pieced them together by machine. I was also diligent about transferring all of the "hash marks," or registration marks, as Jo-Ann calls them. It would have been a disaster piecing the wings together without those marks, so don't skip that step!


Now the second wing is complete! It's coming along nicely, no?

Then, using paper-backed fusible web (I use Pellon Wonder Under), I traced out the circle templates and fused them to the wings. Apparently, I was very eager to take this photo because the wings are still damp from fusing the circles.

Now for the antennae: I went with blue because there was so little blue in the wings, and I think that heart print is just adorable. I cut out four pieces (two sets) of the antenna shape using the template as a guide.


But not too shabby for someone with limited experience on the machine!

Trimmed, turned, and pressed, I basted the antennae to the butterfly after I attached the wings to the body with a 1/4 inch seam.


I pinned the three layers together while I trimmed the batting to size.

I sewed another 1/4 inch seam all but a few inches around (I opted to leave a 7 inch opening at the bottom open for turning), turned the quilt right side out, and whip stitched the opening by hand. Voila! Now it's time for the quilting.


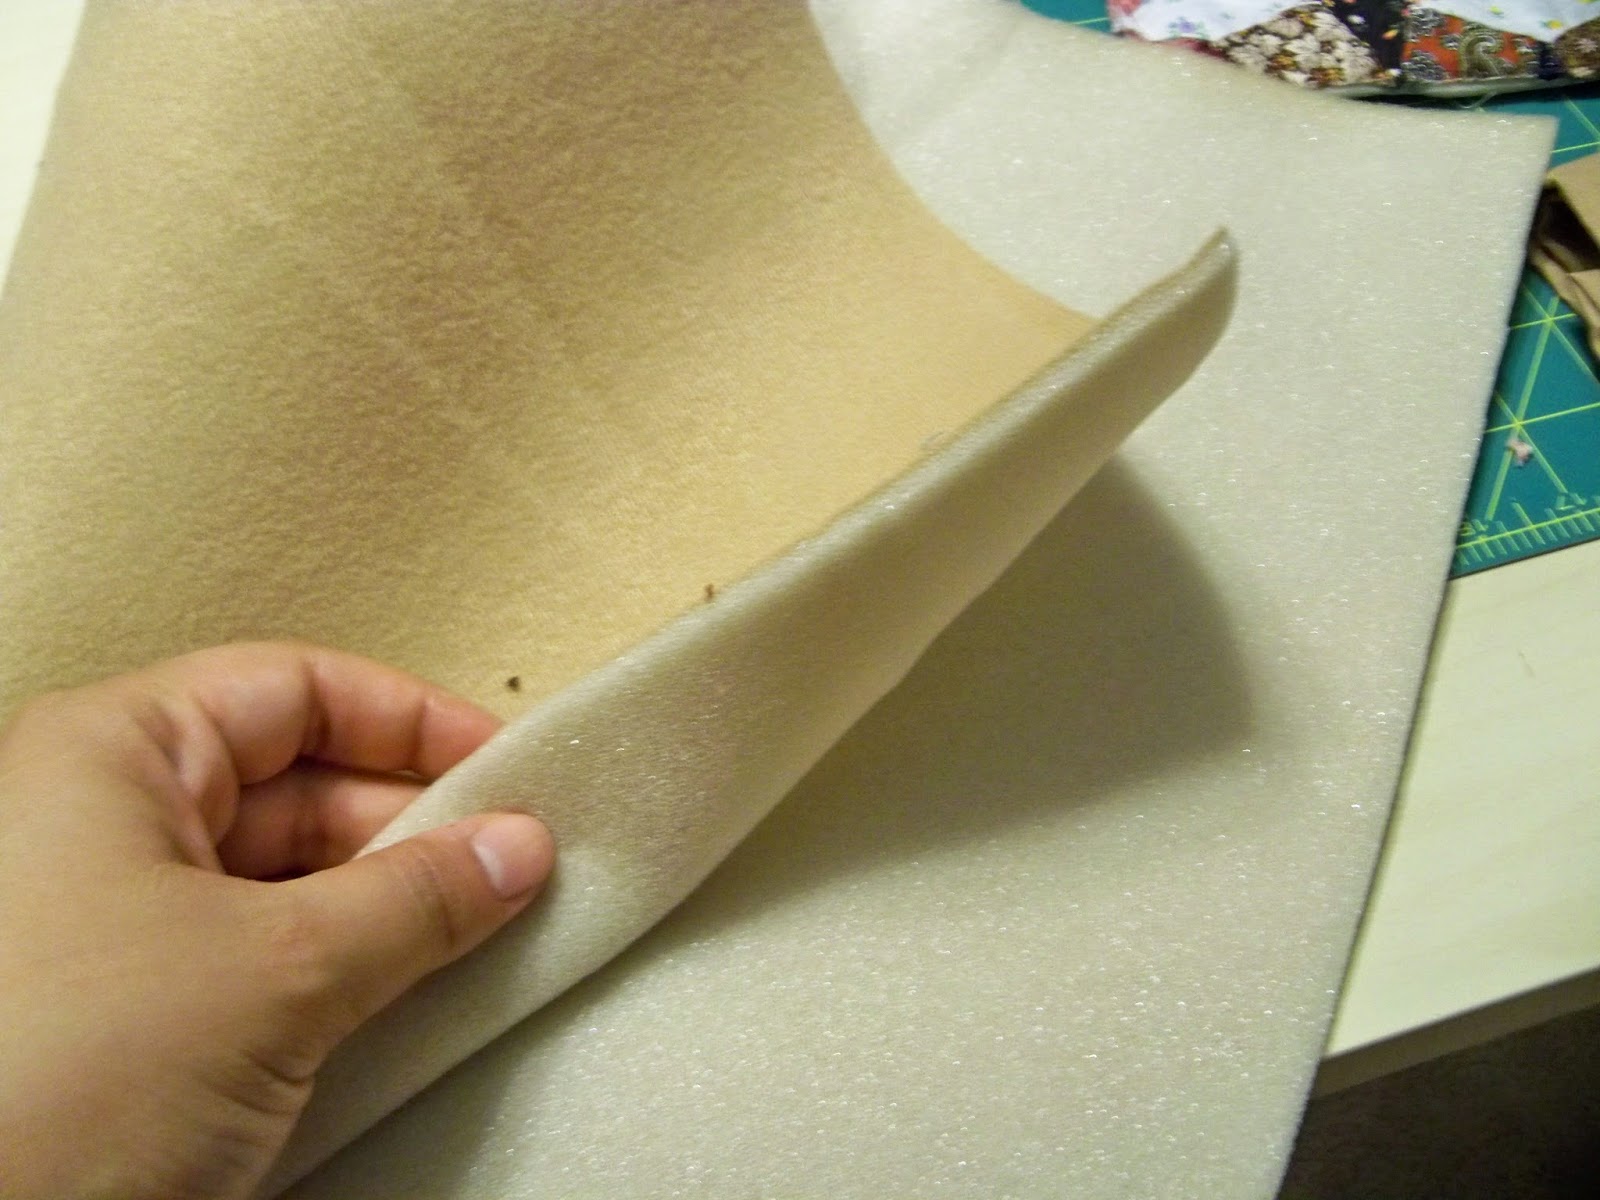
I had some white felt laying around in my stash and fused it to the front panel using Wonder Under.

I wanted this to look a little more professional, so I thought a satin stitch would look better than the traditional blanket stitch for applique. One problem--no way was I going to satin stitch it all by hand. I have a Singer Simple machine, so my options were pretty limited. In the end, I went with a zigzag stitch. I set the stitch length at the shortest setting, and set the stitch width at one of the widest settings.

After testing it out on a scrap piece of fabric, I proceeded to zigzag stitch all around the A by machine. Some of those corners and curves were a bit challenging, but overall, I think it turned out alright.

I fused a piece of fusible fleece onto the back of the panel, and quilted a simple design of intersecting lines by hand. I simply skipped over the applique while quilting, but I guess I could have appliqued the letter afterwards. In the end, I don't think it made a difference.

I made the back half of the pillow cover following some instructions I found for an envelope closure. I attached a binding as you normally would to finish it off.
And here's a pic of me beaming over my most recent creations.

Until next time, God bless!

I cut out the body pattern, reinforcing with additional tape where it was needed:
Wow, this picture makes my carpet look dirty! I promise, it's not. Just in case, I vacuumed before the remaining shots: :)
We found this super cute and super girly striped fabric (with glitter!) that I'm using for the backing. Lining up the backing fabric on a fold, I pinned the pattern to the fabric and cut out the body, leaving a 1/4" seam allowance all around:
That's really the hardest part to remember: always include the seam allowance! Now, after all of that work putting the pattern together, it's time to cut it apart! I love the glitter stripe so much I decided to use it for the butterfly body, too. Once the body was cut out (I almost forgot my seam allowance again), I auditioned the other prints I purchased for this project and decided where to place them:
Once again, folding the fabric in half, I pinned and cut out my pattern pieces.
The curves on this project are a little tricky to sew, so I used tons of pins to hold the pieces together as I pieced them together by machine. I was also diligent about transferring all of the "hash marks," or registration marks, as Jo-Ann calls them. It would have been a disaster piecing the wings together without those marks, so don't skip that step!
One wing down, one to go!
Now the second wing is complete! It's coming along nicely, no?
Now for the antennae: I went with blue because there was so little blue in the wings, and I think that heart print is just adorable. I cut out four pieces (two sets) of the antenna shape using the template as a guide.
Using a modified quilt sandwich, I sewed on the batting using a 1/4 inch seam allowance. Gosh, curves can be tricky!
But not too shabby for someone with limited experience on the machine!
Trimmed, turned, and pressed, I basted the antennae to the butterfly after I attached the wings to the body with a 1/4 inch seam.
Now it's sandwich time! It's a modified quilt sandwich again, because this quilt will not be bound--it will be turned. The batting goes on the bottom, followed by the back and the front, right sides together.
I pinned the three layers together while I trimmed the batting to size.
I sewed another 1/4 inch seam all but a few inches around (I opted to leave a 7 inch opening at the bottom open for turning), turned the quilt right side out, and whip stitched the opening by hand. Voila! Now it's time for the quilting.
I ended up blanket stitching by hand around the circles for added fray protection after the fact. I'd recommend you do it beforehand. I quilted this by hand using a pink thread (Coats Cotton Covered--I DO NOT recommend this thread!) mostly in the ditch. I added some segments to the body as well.
I hand embroidered a label for little Alizabeth:
Here's the final product: (with a preview of the pillow!)
Confession time: I messed up the first time I bought the backing fabric and did not purchase enough. Needless to say, I had to return to Jo-Ann to buy enough. What to do with all this extra girly fabric? Well, a matching gift, of course!
I found a 12 x 12 pillow form on sale at Hancock one day and thought it was just the right size for a little lady. This gift is for little Alizabeth, so I though a monogrammed pillow would be nice. I printed out a template--this is just a standard word processing font: Curlz MT. I adjusted it to make sure it would fit on the pillow form.
I had some white felt laying around in my stash and fused it to the front panel using Wonder Under.
After testing it out on a scrap piece of fabric, I proceeded to zigzag stitch all around the A by machine. Some of those corners and curves were a bit challenging, but overall, I think it turned out alright.
I fused a piece of fusible fleece onto the back of the panel, and quilted a simple design of intersecting lines by hand. I simply skipped over the applique while quilting, but I guess I could have appliqued the letter afterwards. In the end, I don't think it made a difference.
I made the back half of the pillow cover following some instructions I found for an envelope closure. I attached a binding as you normally would to finish it off.
And here's a pic of me beaming over my most recent creations.
Until next time, God bless!