
The pattern is titled Seaside Sketch, and is found in Issue 4 of the magazine, by Judith Dahmen. Check out Judith's blog here. Her blog has pictures of other versions of the same pattern as well. We were particularly drawn to the color scheme featured in the "seaside" version of the quilt, so I tried to replicate it the best I could. The pattern calls for colored strips of random sizes to be pieced into one long strip, which then acts as the sashing for the gray squares. Here's my version of "random:"


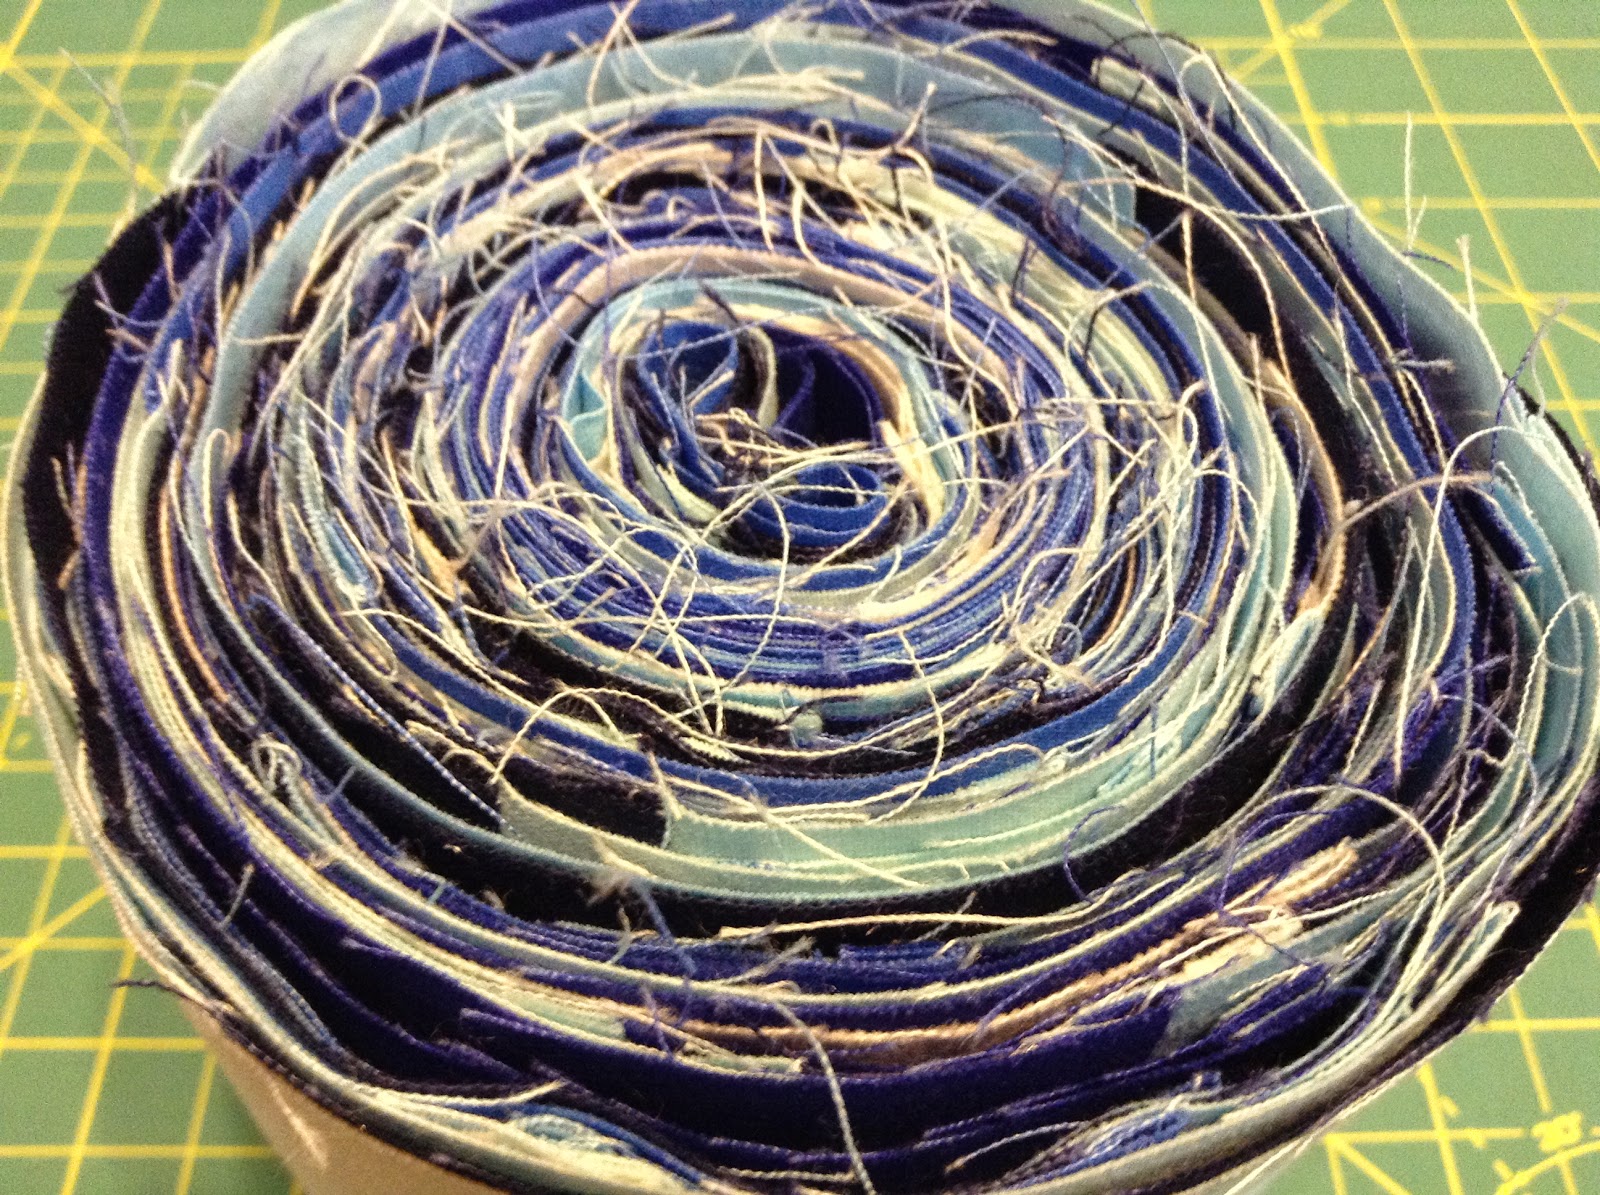
And it keeps growing! I ended up with such a long strip, I had to roll it up, jelly roll style:
I wanted the quilt to be something special, so I opted to use American Made Brand fabrics for most of it. These fabrics are, well, American made, from "farm to fabric." The cotton is grown and processed right here in the good ol' USA. I thought that was something my in-laws would appreciate. The backing fabric is from Robert Kaufman, printed in the USA.
What did I think about working with these fabrics? Well, they have a lower price point because they are not top quality. In my opinion, RK Kona Cotton Solids and Moda Bella Solids are top-notch, but they are a splurge for my quilting budget. I prewash all of my fabric, so these American Made Brand solids "thickened up" a bit in the wash, which I appreciated. They are by no means a low-quality fabric, just not what the more discerning quilter might choose for his or her quilt. Ultimately, I can feel good about my choice to use their fabric, and it's a bit easier on my wallet, too.
The design of the quilt is super simple--solid squares with scrappy sashing. I've never made a quilt this large, so finding ample space on my floor was a challenge:

Oh no! Guess who ran out of sashing?? This gal! No problem, I'll just make some more, right? Well, it just so happens that I donated ALL of my leftover blue fabric to my guild's opportunity quilt! Oops. So two lessons learned:
(1) When a pattern tells you to make a certain length of sashing, make sure to take your seam allowances into account! My hubby measured the length of sashing I'd need to make to compensate, and it turns out that I cut enough fabric, but forgot to figure in that each seam would remove half an inch. When making scrappy sashing, that's a lot of seams!
(2) Don't donate leftover fabric until you're finished with the project it's "leftover" from! In this instance, the fabric wasn't really leftover after all. Instead, I had to go drop another $12 on fat quarters to finish it up. Not that big of a deal, but it could have been worse. What if I was using prints that were hard to find?
So here's the new iron I used during this project. I bought this little cheapie at Wal-Mart for around $7, and guess what? It's the best freakin' iron I've ever owned. This little guy gets really hot and doesn't have an auto shut off. Sure, it tends to drip if you're trying to use it while it's heating up, but it's just water, right?

Well, there is such a thing as too hot. I was using Coats and Clark Dual Duty thread to piece this quilt, and The Little Iron That Could melted some of my seams:

Aside from that, the quilt top came together just fine. A few puckers from some inconsistent seams, but I'm not going to fuss over it.

Now for the hard part (at least for me): basting and quilting! I purchased some fusible batting from Connecting Threads, because I really have not enjoyed using basting spray, and all of my safety pins are currently in use in another quilt sandwich.

It was a bit cumbersome, but not more so than any other method I've used. Unrolling the batting was probably the biggest challenge. The adhesive made the quilt "roll" stick together, so I had to unpeel and unroll at the same time. Not something you want to do in a hurry. Basting the quilt required me to lay out my quilt sandwich on my linoleum and to crawl around on top of the quilt, super-hot iron in hand, but in the end, I think I'll stick to this method for the time being. The fusible bond formed isn't permanent--in fact, I peeled apart the layers in a few spots and re-fused them just fine.
Then I wrangled the quilt through my Singer Quantum Stylist 9960. Not as bad as I thought it would be, but now I am really itching for a custom sewing table! Now for the photo shoot:


Until next time, God bless!

Yes, that's me trying to randomize the length of each piece. Boy, do I have a problem! Piecing the strip was a lot of fun:
You start getting this pile o' strip accumulating by your machine.
And it keeps growing! I ended up with such a long strip, I had to roll it up, jelly roll style:
I wanted the quilt to be something special, so I opted to use American Made Brand fabrics for most of it. These fabrics are, well, American made, from "farm to fabric." The cotton is grown and processed right here in the good ol' USA. I thought that was something my in-laws would appreciate. The backing fabric is from Robert Kaufman, printed in the USA.
What did I think about working with these fabrics? Well, they have a lower price point because they are not top quality. In my opinion, RK Kona Cotton Solids and Moda Bella Solids are top-notch, but they are a splurge for my quilting budget. I prewash all of my fabric, so these American Made Brand solids "thickened up" a bit in the wash, which I appreciated. They are by no means a low-quality fabric, just not what the more discerning quilter might choose for his or her quilt. Ultimately, I can feel good about my choice to use their fabric, and it's a bit easier on my wallet, too.
Oh no! Guess who ran out of sashing?? This gal! No problem, I'll just make some more, right? Well, it just so happens that I donated ALL of my leftover blue fabric to my guild's opportunity quilt! Oops. So two lessons learned:
(1) When a pattern tells you to make a certain length of sashing, make sure to take your seam allowances into account! My hubby measured the length of sashing I'd need to make to compensate, and it turns out that I cut enough fabric, but forgot to figure in that each seam would remove half an inch. When making scrappy sashing, that's a lot of seams!
(2) Don't donate leftover fabric until you're finished with the project it's "leftover" from! In this instance, the fabric wasn't really leftover after all. Instead, I had to go drop another $12 on fat quarters to finish it up. Not that big of a deal, but it could have been worse. What if I was using prints that were hard to find?
So here's the new iron I used during this project. I bought this little cheapie at Wal-Mart for around $7, and guess what? It's the best freakin' iron I've ever owned. This little guy gets really hot and doesn't have an auto shut off. Sure, it tends to drip if you're trying to use it while it's heating up, but it's just water, right?
Well, there is such a thing as too hot. I was using Coats and Clark Dual Duty thread to piece this quilt, and The Little Iron That Could melted some of my seams:
Aside from that, the quilt top came together just fine. A few puckers from some inconsistent seams, but I'm not going to fuss over it.
Now for the hard part (at least for me): basting and quilting! I purchased some fusible batting from Connecting Threads, because I really have not enjoyed using basting spray, and all of my safety pins are currently in use in another quilt sandwich.
It was a bit cumbersome, but not more so than any other method I've used. Unrolling the batting was probably the biggest challenge. The adhesive made the quilt "roll" stick together, so I had to unpeel and unroll at the same time. Not something you want to do in a hurry. Basting the quilt required me to lay out my quilt sandwich on my linoleum and to crawl around on top of the quilt, super-hot iron in hand, but in the end, I think I'll stick to this method for the time being. The fusible bond formed isn't permanent--in fact, I peeled apart the layers in a few spots and re-fused them just fine.
Then I wrangled the quilt through my Singer Quantum Stylist 9960. Not as bad as I thought it would be, but now I am really itching for a custom sewing table! Now for the photo shoot:
They are gonna love it.
ReplyDeleteYou're right, they did!
ReplyDelete