Search This Blog

Monday, March 2, 2015

Diamonds are Trump


Well, the original name of this pattern is "Must Stash," by Kelly Biscopink, but I took my own twist on it, so I thought it was worthy of a new name.  This quilt is for my brother-in-law and sister-in-law.  My in-laws taught me the card game Euchre, so I thought the name was apt.  Well, here it is:


It's not perfect, but I am very proud of this quilt.  Not only is it the first quilt of its size that I have completed, but I learned a lot while making it, and I don't think I executed my new techniques all that poorly. 

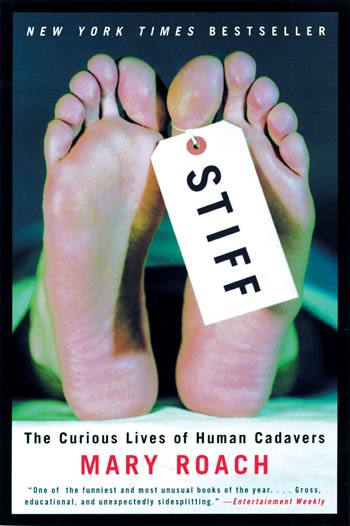
The pattern came from Modern Designs for Classic Quilts: 12 Traditionally Inspired Patterns Made New by Kelly Biscopink and Andrea Johnson. 


I was immediately drawn to this book because of the cover quilt.  I might have to attempt that particular quilt soon!  But for today, we're looking at the "Must Stash" (get it?) pattern:


Cool quilt!  Kelly arranged the diamonds in this quilt in rainbow order on a gray background.  I wanted to mix it up and used a beige polka dot as my background, and arranged the diamonds in a somewhat random order. 

Well, my husband did:


Mark was super-involved in the making of this quilt.  Kelly used one print per diamond.  To simplify things, we opted to repeat each print three times.  Mark spent quite a bit of time combing through my stash to find the colors he thought my brother-in-law and sister-in-law would appreciate the most.  As you can see above, he painstakingly arranged the diamonds to his liking.  You know what?  I didn't touch it after he arranged it!


I took a photo after he arranged all of the diamonds for reference.  Boy, do I recommend doing this!  I came home one night to find that most of the diamonds had fallen off of my design wall (don't worry, I got a new one that works better!), so it was a huge time saver to have a photo to refer to while I was piecing it. 

A few notes about the pattern:

I opted to make a diamond template from clear plastic, as suggested by the authors.  That was a big deal, because it enabled me to fussy cut from my fabrics fairly accurately. 


My diamonds did not end up the same size, and I attribute that to rushing during cutting.  Don't be like me, and take your time when you make this quilt! 

I also tried to save time by stacking the background fabric when cutting diamonds for the edges:


That worked okay, but once again, I probably rushed it a bit more than I should have. 

Step 3 on page 103 involved attaching some sashing.  One thing I learned was that you should press your seams before you cut:


If you don't, this will happen to you.  I realized that the only spacing concerns for Step 3 involve the first and last diamond sewn to the strip.  I would leave a few inches open on each end.  The diamonds themselves can be bunched together fairly closely, as long as you press those seams before you cut!

Step 6 on page 103 has a typo:  The sashing strips are cut at 1.5", not 11.5".  I know it's obvious, but this is why you should always read the entire pattern before you blindly follow instructions. 

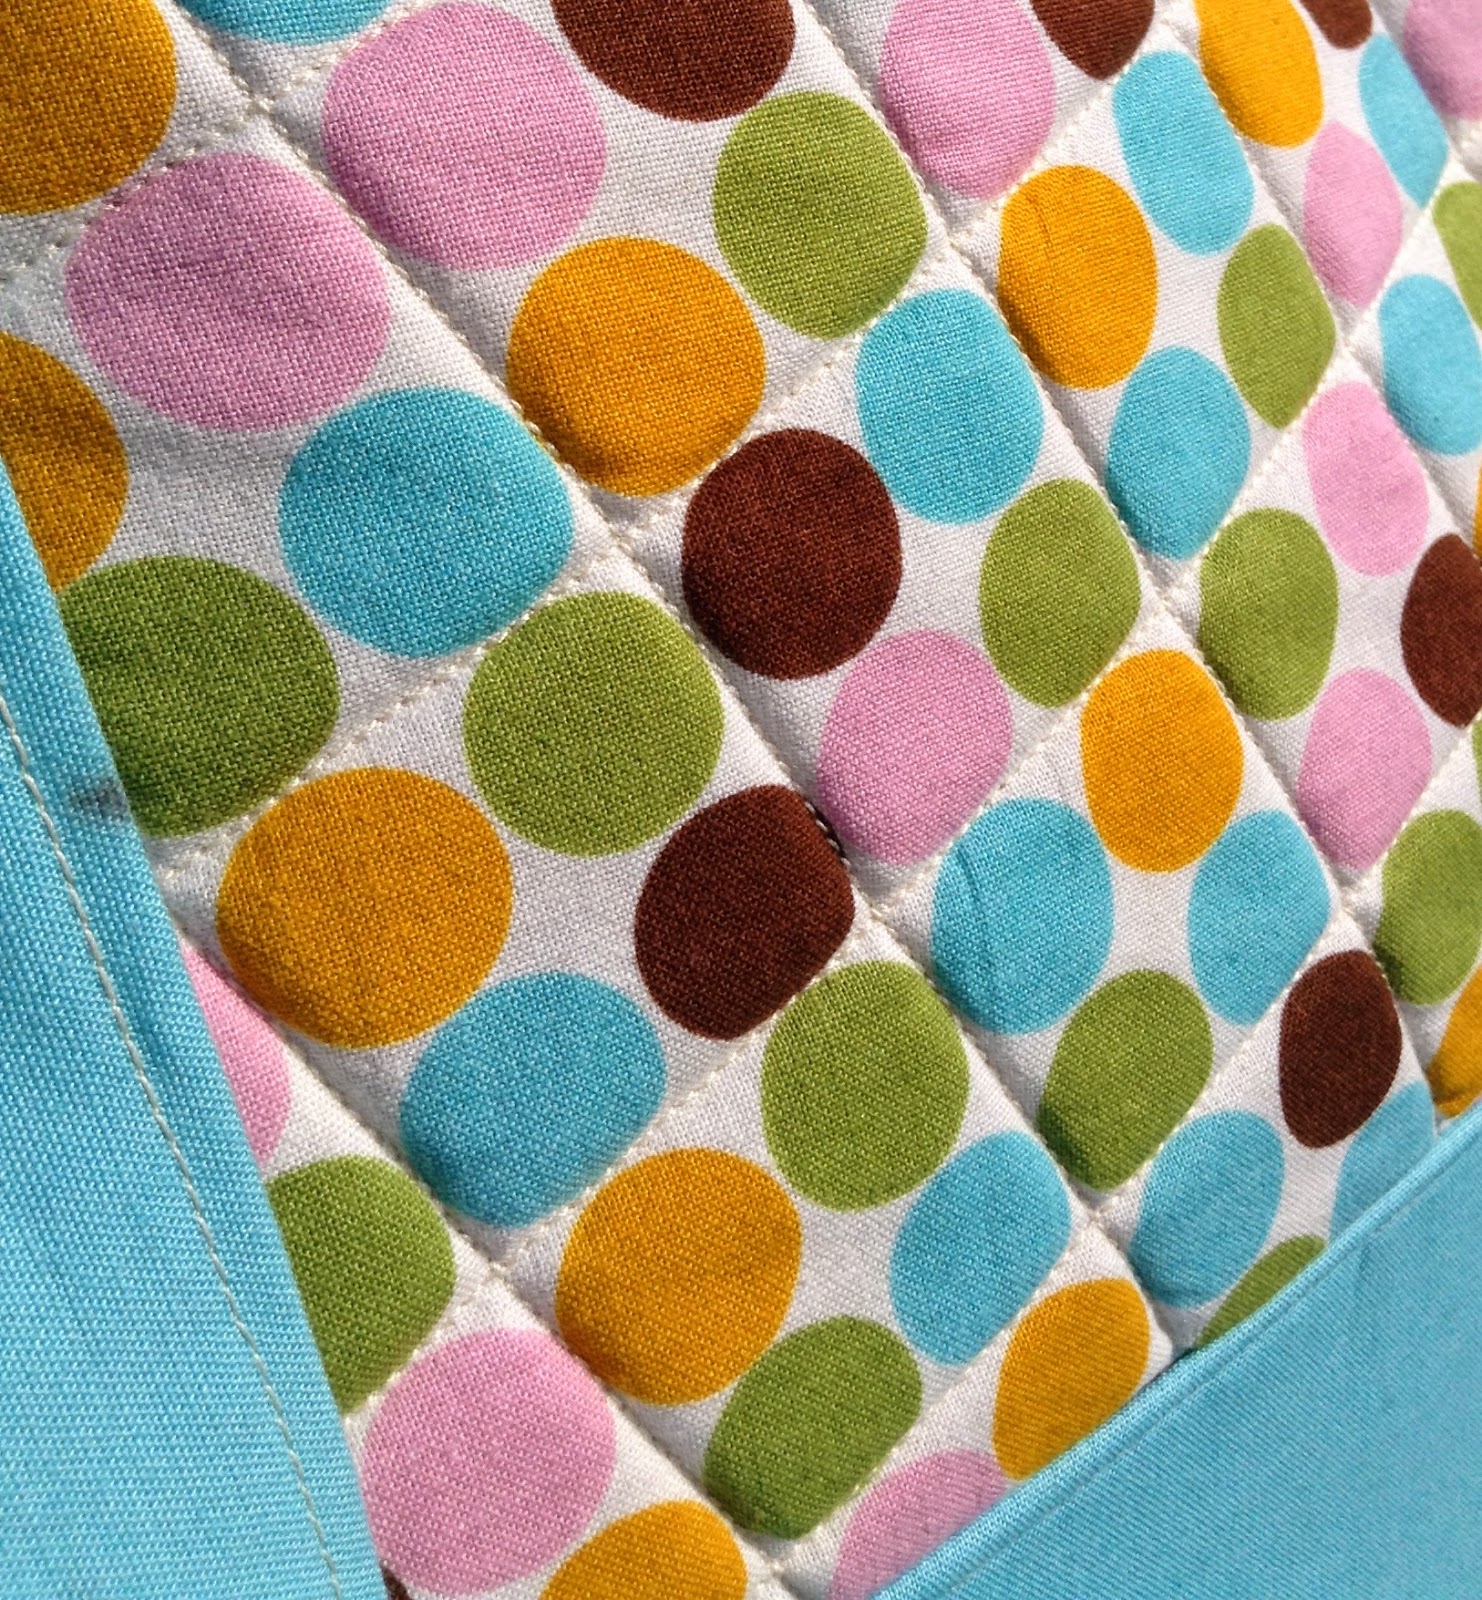
The most useful technique I learned was how to match up the diamonds diagonally,  The authors really did a great job of illustrating the technique, and it's one I'm sure I'll use in the future.  My diamonds lined up pretty well, don't you think?


While my rows might look just fine from afar, they didn't quite line up, so squaring up my quilt top was a bit of a challenge.  Man to the rescue again:

Yes, we use a rabbit ear antenna!

It occurred to me that masking tape might be a helpful way to mark my cut lines.  This is Mark helping me make sure the corners ended up measuring 90 degrees.


I brought out my cutting mat and simply cut along the marked lines. 


As you can see, I used the back side of my mat.  It's always a good idea to use the unmarked side of your mat whenever you're not using the grid lines.  I feel like this will help prolong the life of my cutting mat by not repeatedly using the same side.  I have an Olfa mat, and it worked fine.  Just make sure that your cutting mat is double sided before you try it, though! 

It ended up nice and squared:


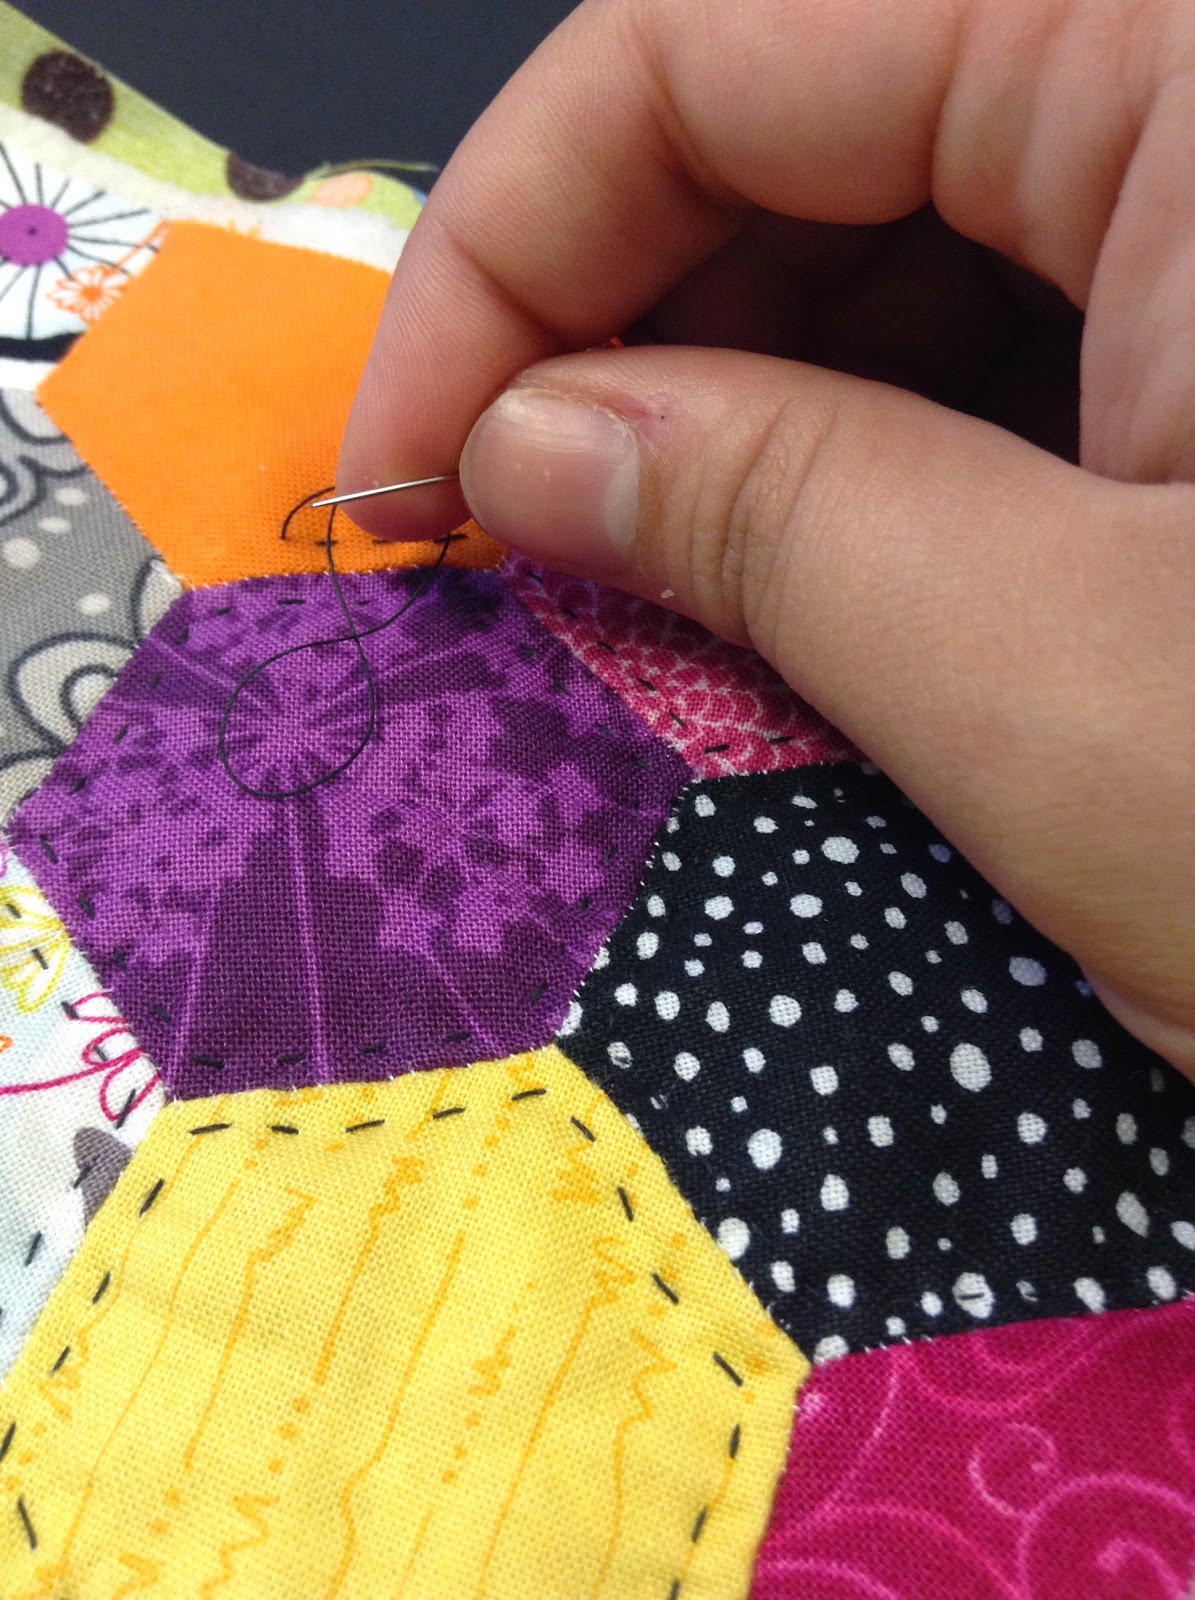
Kelly quilted her sashing and her diamonds.  I'm not quite there yet, so I opted to only quilt the diamonds.  I wanted the quilting to look similar to Kelly's, so I traced curves with a saucer. 


I used a Frixion pen, and it took forever!  It was worth it, though, because as a beginner quilter, having a line to follow is super helpful.

After all of the lines were drawn, I spray basted the quilt sandwich:


I taped packaging paper to the floor to protect my linoleum, and that worked fine for the most part.  I'm still not a huge fan of spray basting, but it might grow on me.  I used Dritz basting spray, so maybe next time I'll buy the good stuff to see if I like it better.

Now for the quilting:  I made a little practice quilt sandwich just to get a feel for it. 


Then I tackled free motion quilting for the very first time on the real deal!!  You guys have no idea how nervous I was.  My neck and shoulders were so tense, it made for an unpleasant experience at first.  After I got a feel for the motion I was using, it ended up being a lot of fun. 

Yes, I use a Singer, and I love it!

The pattern called for 2.25" binding instead of the usual 2.5", so that was fun to discover. I tacked on the binding by hand, as usual.  
 
I hand embroidered a label onto one of the leftover diamonds:
 
 
The label originally had a lot more information on it, but I opted to stop with the basics. 
 
 
A few notes about this particular quilt:
 
Fabrics used: My stash.  Many came from the MaryJo's Sewing Room collection from Connecting Threads.  The backing fabric is "Around Town," also by Connecting Threads. 
 
Thread used: The quilt was pieced with Gutermann polyester thread, and quilted with Essential Quilting Thread in Cream from Connecting Threads.  (Clearly, I do not have a problem mixing polyester with cotton.)
 
Batting used: Soft n Crafty 80/20 cotton/poly blend purchased at Joann.   
 
A note about the Frixion pen: Yes, I liberally used both red and black Frixion pens all over this quilt.  I've heard mixed reviews about it, so I decided to run the quilt through the wash before I mailed it to Maine (where surely, it's cold enough for the lines to reappear).  I'm glad to report that it didn't fall apart!  I'm hoping that will have washed out most of the ink.  If not, well....they're family and won't give me a hard time about it (I hope). 
 
Now for the photo shoot:
 
I was in the middle of laughing in this pic, but Mark insisted that I use it.
 

He was very excited to hold the finished product!
 
Sorry about the crease lines! 
 

What do you think?  I've got a lot more coming your way, so stay tuned!  God bless y'all. 


post signature


Tuesday, February 24, 2015

Quilting Over the Rainbow: Mug Rug Swap #2

This is Mug Rug swap number two! 

The Lakeland Modern Quilt Guild is swapping mug rugs with the Brisbane Modern Quilt Guild.  For the less geographically inclined, that's in Australia!  Their guild outnumbers ours, so I committed to making more than one mug rug. 

First up:  hexies!

I started this particular mug rug before I knew that the Brisbane guild requested a "quilting over the rainbow" theme.  I ordered an Ashton Road charm pack from Connecting Threads to get started.  I find that 5 inch charms are the perfect size for English Paper Piecing, because each square is enough to cover 4 of the 1 inch hexies. 


Here's my little stack of 2.5 inch squares, ready to be basted. 

This time around, I used a new product: Simple Shapes by June Tailor. 


This is a pack of 1 inch hexagons (meaning each side is one inch long).  You thread baste your fabric onto the templates, which are heat-safe.  That's my favorite thing about these--they stood up to my iron without distorting or warping the least bit.  You can't say that about standard template plastic! 

Well, you stitch the hexies together in the usual manner.  This was my first time using Ivisafil thread--I looooove it!  It is a 100 weight polyester thread that is virtually invisible.  This gave me a lot of leeway when piecing, because the threads are only slightly visible on the front. 


For the most part, I enjoyed using these templates.  The only drawback I found with them is their thickness.  While I appreciated how sturdy (yet still flexible!) they were, the thickness was occasionally an obstacle.  I did not find this to be enough of an annoyance to discontinue using them.  I am still learning EPP, so I have yet to decide on my favorite.  I'll be sure to let you know when I do, though. 


I always say that hand piecing deserves hand quilting, so this little guy got the hand quilting treatment.  This was my first time using YLI hand quilting thread, and I enjoyed it.  It's bit difficult to find around here, so I probably won't go out of my way to find it, though.


I did some simple chunky echo quilting about a quarter inch from each seam.    I bound it (sorry, binding is not my forte!) and made a little hexie label that I appliqued onto the back.


I used my Pigma archival ink pen to write the label.


Next up: an actual rainbow-themed mug rug.  For this, I turned to EPP again.  I decided to go with 1 inch diamonds this time:


I cut out what felt like a zillion little diamonds and was very ambitious with the design.  This is what I ended up making:


Sometimes, you just run out of time!  This was my first time using diamonds as an EPP shape, so I was unfamiliar with the "dog ears" you get from those acute angles.  One thing I learned: NEVER clip those "dog ears!"  They're meant to be tucked underneath, not cut off, as I found out the hard way.


You might be able to tell from this photo how some of the points started to fray.  This is due to my error in clipping the "dog ears."  I started to applique the star onto a white background by hand, but ended up using a narrow zigzag stitch on my machine:


Now for the quilting: I was really, really crunched for time, so rather than binding this particular mug rug, I opted to turn it and topstitch around the edge.


I did a little echo quilting around the star (in this photo, I've used a Frixion pen to mark my lines) in white thread. 

I'm a bit embarrassed to admit that I forgot to take close-up photographs of the mug rugs before I turned them over to the guild president for delivery.  Here's Leandra showing off my mug rugs to the rest of the guild at our meeting:


So, to those who end up receiving these, I hope you're not too disappointed with them, and I thank you for an opportunity to improve my skills on these fun little mug rugs!  I'd love to hear from you.  Until next time, God Bless.


post signature


Friday, February 20, 2015

A Bag for Grandma Carol

You might remember that I didn't make it to my brother and sister in-law's wedding last July.  One reason why that was a bummer was I missed seeing this lady:


Grandma Carol and my Mark

Grandma Carol came down to see us this month.  The timing was great--Ohio was seeing double-digit sub-zero temps while she was here!  We had the privilege of hanging out with her for a few days, so I thought I'd mark the occasion with a handmade gift.  Check it out:


This is the Aeroplane Bag by SewSweetness.  You can buy the pattern at Sara Lawson's shop here.  It's a super-roomy zippered tote with fabric handles and two interior zipper pockets.  I really had a great time making the bag.

I opted to use headliner foam instead of Soft and Stable, simply because I had some on hand.  I quilted the patterned portion of the bag by machine by following the natural pattern of the fabric:


As you can see, I used my walking foot to do the quilting.  I actually kept my walking foot on for the majority of the bag construction.  I feel like it really makes the process easier.  Here's a close up view of the quilting:


Not too shabby, huh?  I used Connecting Threads' Essential Quilting Thread in cream, and it really agrees with my machine.  I was even so bold as to do all of my topstitching in a contrasting color!


I am thoroughly impressed with myself on this one. 

I did make one major boo-boo:


I completely mis-measured the Peltex for the bottom of the bag.  I ended up zigzag stitching two smaller pieces together.  It ended up being okay, though.  Overall, I though it turned out nicely, and Grandma Carol loved it, which is all that really mattered. 


What do y'all think?  I love it!  I've got a lot more coming your way, so stay tuned.  Until then, God Bless!


post signature


Change of Heart


Okay everyone--I've thought long and hard about this, and I've finally decided to pull the trigger on it.  I am changing the name of the blog.  I tried to explain it in my first post, but I realize that people aren't going to start at the beginning of my blog and read their way up. 

It was an ongoing joke with my coworkers that our lives were so boring compared to the litigants we see in court everyday.  (Yes, if you didn't know, I'm a lawyer by day, aspiring designer by night!)  I love my drama-free life, even if it is a tad boring. 

My husband was the biggest proponent of a name change, but kept suggesting titles that were already taken.  I finally settled on "More than Rubies."  Why, you ask?


Proverbs 31:10  New International Version (NIV)

Epilogue: The Wife of Noble Character

10 [a]A wife of noble character who can find?
    She is worth far more than rubies.
 
 
If you've read Proverbs 31, you know that the wife of noble character is a seamstress and a businesswoman.  I would love nothing more than to be able to provide for my family while practicing a passion of mine, so I opted for a blog title that refers back to the wife of noble character. 
 
I'll go ahead and say it now--I will let God and my husband down.  I am imperfect and falter regularly--I simply ask that you not hold it against God or my husband, both of whom are forgiving and love me as I am. 
 
Will you join me on this quest, then?  We can make some cute stuff along the way, too.  Until next time, God Bless!
post signature

Friday, February 13, 2015

2015 BOM: Part 2


Hey, y'all!  It's February (yes, I know we're already halfway through!), so it's time for another block of the month!

This month's block is called "Boxed Heart."  Want the pattern?  Join the Lakeland Modern Quilt Guild!!

Now this is a traditional block, but we can update it with some fun and funky colors, right?

Here's my first attempt:


Yes, that's glitter fabric in the background!  This block is almost entirely half square triangles--I am not fond of triangles!  Practice means improvement, though.  For me to get this block to even come together in the first try means that I have made significant progress. 

Now, onto the pretties.  If you remember last month's block, you'll remember that I purchased a set of fabrics to use for each BOM.  I want to feature the crazy, floral print in each block.  To that end, I decided to use it in the interior of the heart for this month's block:


You may also notice that the floral print is the only one repeated from last month.  I wonder what next month's block will look like?


One thing that never ceases to amaze me is how much fabric the seam allowances "eat up."  Check this out:


See how much smaller the finished block is than the unfinished?  Mark says it looks like a 3-D room with crazy carpeting--ha!

Well, here it is all finished.


I'm seriously considering undoing those two really bad seams.  What do y'all think?

And here it is next to January's block. 


I'm glad February is a short month, because the next block isn't that far away!  Until next time, God Bless. 


post signature

Monday, February 9, 2015

Are you listening?


Yes, Jimmy Eat World is playing in the background!  But seriously, today I'm posing the question: What do you listen to while you're sewing or crafting?

For me, it's primarily audiobooks.  Check out this list of books I've listened to so far in 2015.  I've linked each title to my Goodreads review, if applicable, just in case you care to read what I thought about each title. 


What I'm currently "reading:"


I know, what a cheerful topic to sew to!


Books I have under my belt:


The Hot Zone by Richard Preston


Stuff Matters by Mark Miodownik


One Flew Over the Cuckoo's Nest by Ken Kesey.
No review on this one because frankly, I was a bit embarrassed that I didn't read this book during the first 30 years of my life.


Sisters by Patricia MacDonald


The Fever by Megan Abbott


Counting by 7s by Holly Goldberg Sloan


The Book of Strange New Things by Michel Faber. 
I actually finished this one New Year's Eve, but I'm throwing it in because of how much I loved it. 


 Well, I know I have a rather strange mix of books listed here, but I'd love to hear about what you're reading/listening to.  Want a personal recommendation from yours truly?  Just email me

I know, I haven't shared any finished projects with y'all in a few weeks, but boy, do I have a bunch of stuff in the pipeline.  Stay tuned...until next time, God Bless!