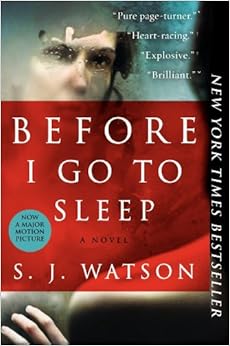
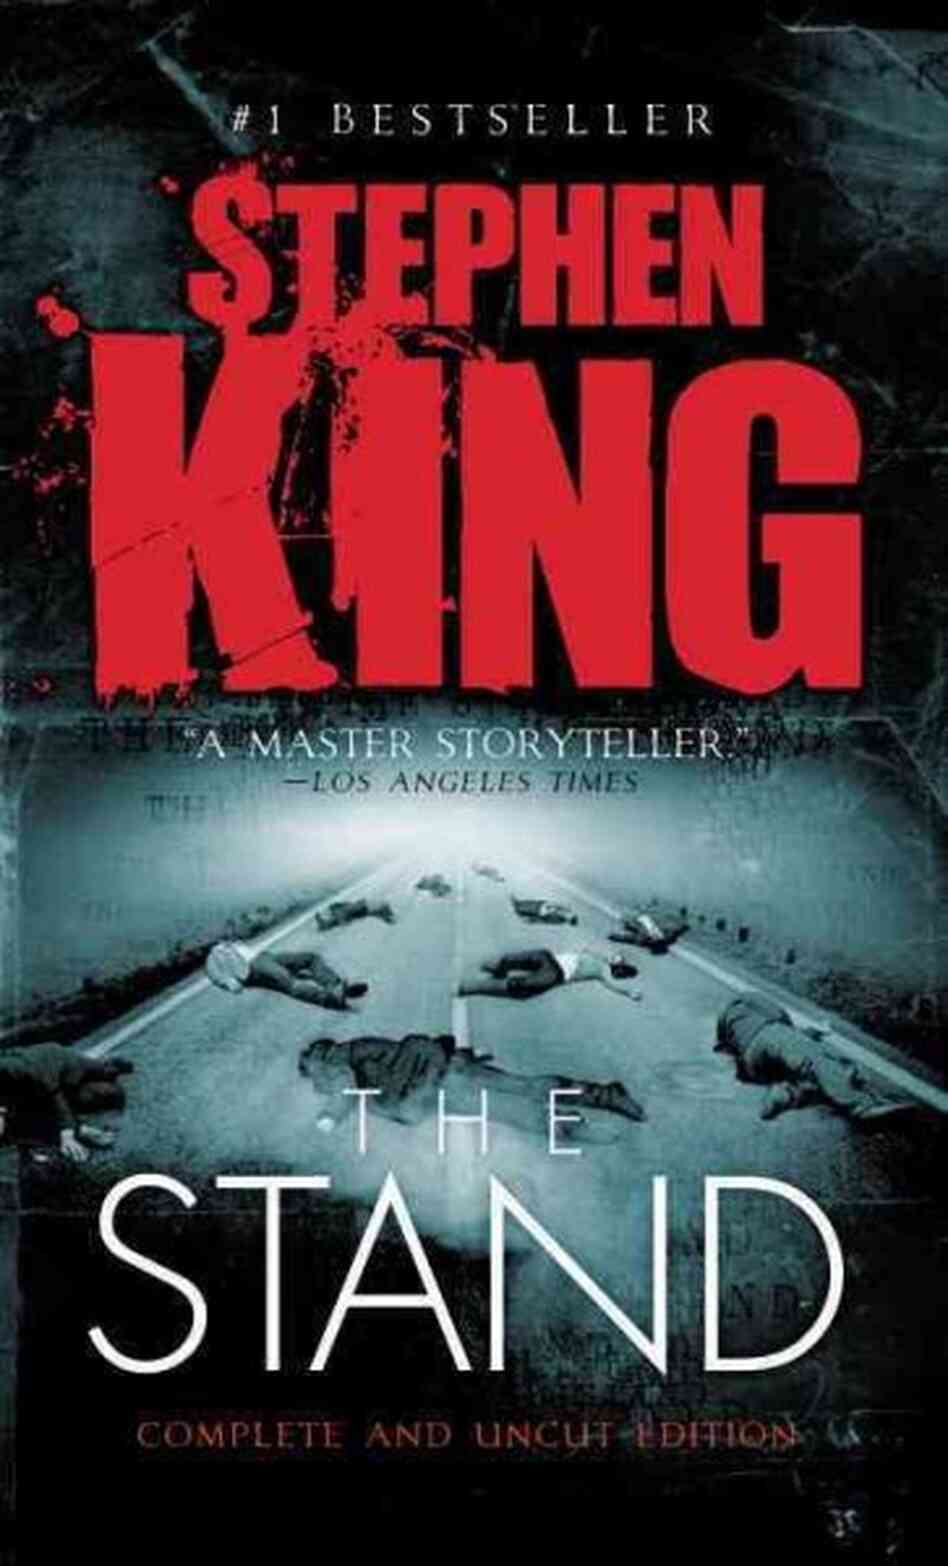
Before I Go to Sleep by S.J. Watson. Yikes. I read this book in two sittings, and only because I had to stop to deal with the emotional wreck I became halfway through. Now, we've seen the premise for this novel before: a woman suffers from amnesia, and wakes up every morning forgetting the last twenty-something years of her life. I just couldn't help but feel for this woman, urging her to trust (or not trust) her caregivers. It's a quick, emotionally charged thriller that I just couldn't put down. Now, to see the movie!
Search This Blog
Sunday, July 27, 2014
A Real Nail Biter
I literally bit off half of my nails while reading this book:
Before I Go to Sleep by S.J. Watson. Yikes. I read this book in two sittings, and only because I had to stop to deal with the emotional wreck I became halfway through. Now, we've seen the premise for this novel before: a woman suffers from amnesia, and wakes up every morning forgetting the last twenty-something years of her life. I just couldn't help but feel for this woman, urging her to trust (or not trust) her caregivers. It's a quick, emotionally charged thriller that I just couldn't put down. Now, to see the movie!
Tuesday, July 22, 2014
Zombies!
Before we begin, a disclaimer: this is the second time I've written this review. The first was very kind, and now I'm frustrated with the internet for not saving it the first time.
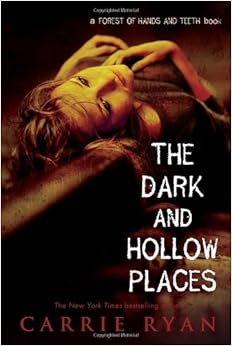
All that said, I've just finished the 3rd book in the Forest of Hands and Teeth Series, The Dark and Hollow Places, by Carrie Ryan.
I'm surprised with how much I've enjoyed this series. So much so, I hesitate to call it a trilogy because I want more. Sure, it followed your typical YA formula: a teenaged protagonist who is caught up in some sort of love triangle but is unable to commit/choose because of the outside circumstances. In this case, the outside circumstance is surviving a post-zombie apocalypse world (which makes it cooler).
Each book was narrated from a different character's point of view. Just when you thought you had a favorite character, you start liking the "new" character just as much, if not more than the last.
Ultimately, I don't mind that it turned out to be your typical YA novel, because it's a story that just doesn't get old, you know? Thanks, Mrs. Ryan, for hours of entertainment.
Saturday, July 19, 2014
My first charity project!
Some ladies from my office are hosting a backpack drive for the Florida Baptist Children's Home here in Polk County. This charity provides aid to the victims of human trafficking, housing some of the young girls that don't have anywhere else to go.
They are asking for backpacks filled with items for the girls. One of the items is a small notebook. I was browsing the internet a few weeks ago and found these beauties from Amanda at Riley Blake Designs:
I thought, these girls have probably never had anything handmade for them in their entire lives. Why not make something for them now? Perfect excuse for adding a few pieces to my growing fabric stash:
And here's my first one! I quilted it by machine rather than by hand, solely to save time.
Now, how many more? I'll update y'all when I get them all done.
Happy sewing!
Monday, July 14, 2014
Clips and Clicks
First off, a product plug. No, I haven't been compensated by the company in any way, shape or form--I just want to tell you how much I'm enjoying this find:
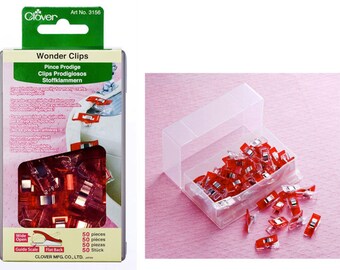
Wonder clips by Clover. I found these beauties at Hancock Fabric. They basically replace the need for using pins along seams. I love them! I'm sure you'll see them in my photos from here on out. They were a little pricey, though--I used a 40% coupon on them, but they still cost me around $20 for a box of 50. I love them so much, the larger, green ones are already on my Amazon wish list.
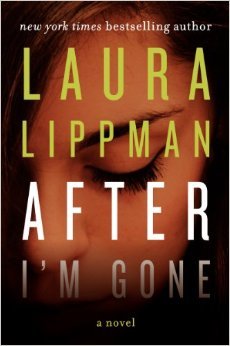
Now for the clicks: I have really been slacking on my book reviews lately. I listen to audiobooks while I craft and while I drive, so I've been flying through them as of late. I also had the opportunity to actually read a few books recently, with my hubby out of town for his brohan's wedding. Rather than try to expound upon the last few weeks of reading, I will simply link to my Goodreads reviews of these titles:
Whew! That's quite a few, doncha think? Well, that'll teach me to keep up! Until next time...
Saturday, July 5, 2014
Two Nook covers in 24 hours!
While I was away on family vacation a few weeks ago, my 1st edition Nook bit the dust. Thankfully, I found the Nook Simple Touch on clearance at Wal-Mart (yes, I shop at Wal-Mart and I'm proud of it!) and decided to make a cover for it myself. I ended up making two:
Why two? Because the first one ended up too small! Don't make my mistake: when in doubt, cut it bigger! Instructions for both cases follows:
Zippered Pouch Instructions
I laid out my Nook onto a piece of fabric to figure out how much to cut. I ended up cutting it too small on the first one, but 1" extra on each side should be enough. In this case, I should have cut two 7" by 8" pieces. I pinned a zipper to the fabric:
and sewed the zipper on:
This is what it looked like with the zipper attached.
Now for the "batting." I used Heat n Bond fusible fleece, but just about anything should work.
I cut two pieces of fusible fleece to match the two sides of the pouch, and fused them according to the package directions.
I used my printed font template to trace onto paper-backed fusible web (I used Pellon Wonder Under brand) that I fused to a piece of felt.
I cut out my little applique pieces and fused them to the front of the pouch according to the package directions.
I know: white on black and white doesn't really work that well. All the more reason to break out the embroidery floss and put my blanket stitch to good use:
Once the embroidery work was done, it was time to finish assembling the pouch. I opened the zipper halfway, and with right sides together, stitched along the three remaining sides.
Once the stitching is done, turn the pouch right side out through the zipper opening. Voila!
Magnetic Snap Pouch Instructions
I checked online, and the consensus is that a magnet won't damage the Nook, so I decided to make another pouch that actually fits my Nook. This time, I decided to line the pouch, so I picked two coordinating scraps:
This time, I cut a single piece of fabric that was 2.5 times the height of the nook, or about 15" tall. I used the same 1" allowance on each side again. Cut a piece of lining and a piece of fusible fleece the same size. Put the lining aside, and fuse the fleece to the outside fabric.
I decided to quilt this pouch (think Vera Bradley), and I did so by hand:
I decided to simply highlight the print by outlining the prominent features, such a leaves and flowers. When I was done quilting, I rounded off the top of the piece by using a bowl whose diameter was equal to the width of the fabric.
This is what it looked like when I was done:
Using paper-backed fusible web, add fusible web to the wrong side of your lining. Remove the paper backing once cool, but do not fuse your layers together yet. Cut your lining to roughly match the outer fabric size and shape. Now is the time to attach your snaps:
(Never mind my pins and stitching--I almost forgot to install my magnetic snaps before I assembled it! Once your snaps are in place, pin your two matching pieces right sides together, and stitch a seam 1/4" almost all the way around, leaving an opening in the bottom big enough to pull your pouch right side out.
Turn your pouch right side out. Using your Nook as a guide, make sure your snaps line up and top stitch a 1/4" seam around the remaining three sides.
(Yes, I had to adjust my snap location on this one!) And voila! DIY Nook covers!
Friday, July 4, 2014
Happy Independence Day!
The 4th of July has always been my favorite holiday. After all, summer is my favorite season, and baseball is my favorite sport. And who doesn't love a good fireworks display?? This 4th was different, though. My brother-in-law and his soon-to-be bride are getting married in Maine tomorrow afternoon, and I didn't get to go. :( As a consolation prize, I treated myself to a shopping spree at Jo-Ann, and here's part of my haul:
Hmm, an awful lot of those fabrics coordinate, don't they? Yes, I'm starting another project, and I'm stepping up the size quite a bit. The wall hanging I recently completed finished at around 12" x 26". This project should end up being around 40" by 55". I won't disclose what it is I'm making just yet (the recipient of this gift may very well be reading this!), but it looks awful girly, no? Don't worry--not ALL of these fabrics are going into the same project. I just can't help myself when I see the remnant bin at the cutting counter. I mean, I scored 1/2 a yard of that chartreuse Kona cotton solid for $1.80! My stash is quickly growing--now I understand why these quilters let it get out of control, because I'm loving it.
I expect this project to take me a week or so (not a lot of piecing, and some straightforward quilting), but I'm also making a smaller project at the same time, so as long as I can remember how to attach a zipper foot to my machine, I'll have something brand new to share in a few days.
Stay safe and stay free!
Wednesday, July 2, 2014
So Satisfying!
There's nothing quite like the feeling you get when you finish a project, particularly when you weren't quite sure you had the requisite skill set to complete said project. Here we are--quilting project number two:
It's the wall hanging I told y'all about a few weeks ago. I had to start over from scratch because my needle-turn applique just wasn't up to snuff. I used a copyrighted pattern, so I won't show you the step-by-step, but here are a few more detailed pictures:
I made this as a wedding gift for my brother-in-law and his bride, so their name is embroidered (using a split stitch for the letters and french knots on the ends of the letters) with the year. This is is by far my favorite part of the quilt.
I ended up using fusible web to applique the house and the flowers. I embroidered the date of the wedding on the door where the house number would normally go. This couple loves their dogs, Lucy and Oliver, so I found some buttons that kinda sorta resemble their pets and included them.
The hardest part: the star blocks. I hate being so critical, but Ms. Gaddy's instructions were seriously lacking for this portion. Now that I've made this thing, I would not recommend it for someone who is just starting to quilt. Now, I'm not a huge fan of patchwork blocks, which is why I was drawn to this particular pattern, which seemed to be primarily an applique quilt. The instructions indicated I should cut a certain number of 1 1/2" half square triangles for the star blocks. Being the novice that I am, I assumed that meant I should cut 1 1/2" squares, and cut them in half on the diagonal. Wrong. I ended up watching a flying geese tutorial on YouTube and adapting it to suit my needs. My wonderful husband came in handy for the conversions.
For those of you who know me, you're probably doing a double-take at my fabric choice for the backing. (I really, really, really don't like the chevron trend that just won't die.) It's my first "designer" fabric purchase: a moda print I bought at a quilt shop on vacation last week. As you can see, I decided not to make a personalized label, but I went with a little generic iron-on label I bought at Hobby Lobby.
Overall, I'm very pleased with the result. A seasoned sewer or quilter can probably tell that this is the first time I've ever used binding, etc., but I'm proud of my work and can't wait to improve with practice.
Subscribe to:
Posts (Atom)